
 Tweet
Tweet
Part 1 is here
Part 2 is here
OK - so it's time to sort out the electrics.
I decided to use a separate lipo for the retracts and the Nav lights rather than the main lipo. I decided to use a small BEC for thsi purpose and the lipo is a Tipple 500 mAH 2 s lipo. Here are a couple of pics showing the BEC and Lipo installed (both are very easy to access and are secured with velcro
aw33.JPG
aw34.JPG
Now for the guns. They didn't look too appealing, so I decided to make a couple of simple changes. The first was to drill out the ends to make them look like real barrels, and I also decided to mask them up and paint the main part silver. Here is the result, looked OK to me
aw35.JPG
aw36.JPG
Time to install the tail. I ended up putting a small ally band round the inside of the tail cowling as I didn't like the idea of the tail cowl being held in place by a couple of screws secured simply into the fibreglass. So I made up a little narrow band of aluminium, glued it in place, pre-drilled some pilot holes and then secured the cowling with screws, it worked really well (I connected up the Nav light prior to final fit)
aw37.JPG
Now time to check all the lights, I was very pleased with how they look. The Nav light kit came with two larger "landing lights" that I ended up using in the lower rear exhaust pipes. I simply coloured the clear glass covers with red permanent marker, then secured them to the inside ends of the exhaust pipes - they look great
aw38.JPG
aw39.JPG
Final assembly time
aw41.JPG
Well its time to test everything and then take her for a flight.
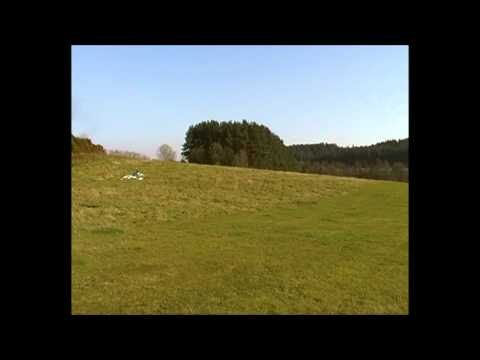
Here are a couple of videos, the first is the final electrical test indoors and the second is the maiden flight. I'm very happy with my first scale build, It's been a bit of a learning curve, but well worth it
Here is the "lighting up time" (fitted with temporary blades)

And here is the Maiden Flight
It's been fun, I hope you enjoyed this mini series!
Cheers,
Part 2 is here
OK - so it's time to sort out the electrics.
I decided to use a separate lipo for the retracts and the Nav lights rather than the main lipo. I decided to use a small BEC for thsi purpose and the lipo is a Tipple 500 mAH 2 s lipo. Here are a couple of pics showing the BEC and Lipo installed (both are very easy to access and are secured with velcro
aw33.JPG
aw34.JPG
Now for the guns. They didn't look too appealing, so I decided to make a couple of simple changes. The first was to drill out the ends to make them look like real barrels, and I also decided to mask them up and paint the main part silver. Here is the result, looked OK to me
aw35.JPG
aw36.JPG
Time to install the tail. I ended up putting a small ally band round the inside of the tail cowling as I didn't like the idea of the tail cowl being held in place by a couple of screws secured simply into the fibreglass. So I made up a little narrow band of aluminium, glued it in place, pre-drilled some pilot holes and then secured the cowling with screws, it worked really well (I connected up the Nav light prior to final fit)
aw37.JPG
Now time to check all the lights, I was very pleased with how they look. The Nav light kit came with two larger "landing lights" that I ended up using in the lower rear exhaust pipes. I simply coloured the clear glass covers with red permanent marker, then secured them to the inside ends of the exhaust pipes - they look great
aw38.JPG
aw39.JPG
Final assembly time
aw41.JPG
Well its time to test everything and then take her for a flight.
Here are a couple of videos, the first is the final electrical test indoors and the second is the maiden flight. I'm very happy with my first scale build, It's been a bit of a learning curve, but well worth it
Here is the "lighting up time" (fitted with temporary blades)
And here is the Maiden Flight
It's been fun, I hope you enjoyed this mini series!
Cheers,


Comment